How to do project contributions (Quick Git & GitHub tutorial)
Context:
If you have zero experience with software development and want to get started, following this article should be enough to begin.
- Git: A program that you download which keeps track of the work you do (in each folder and file).
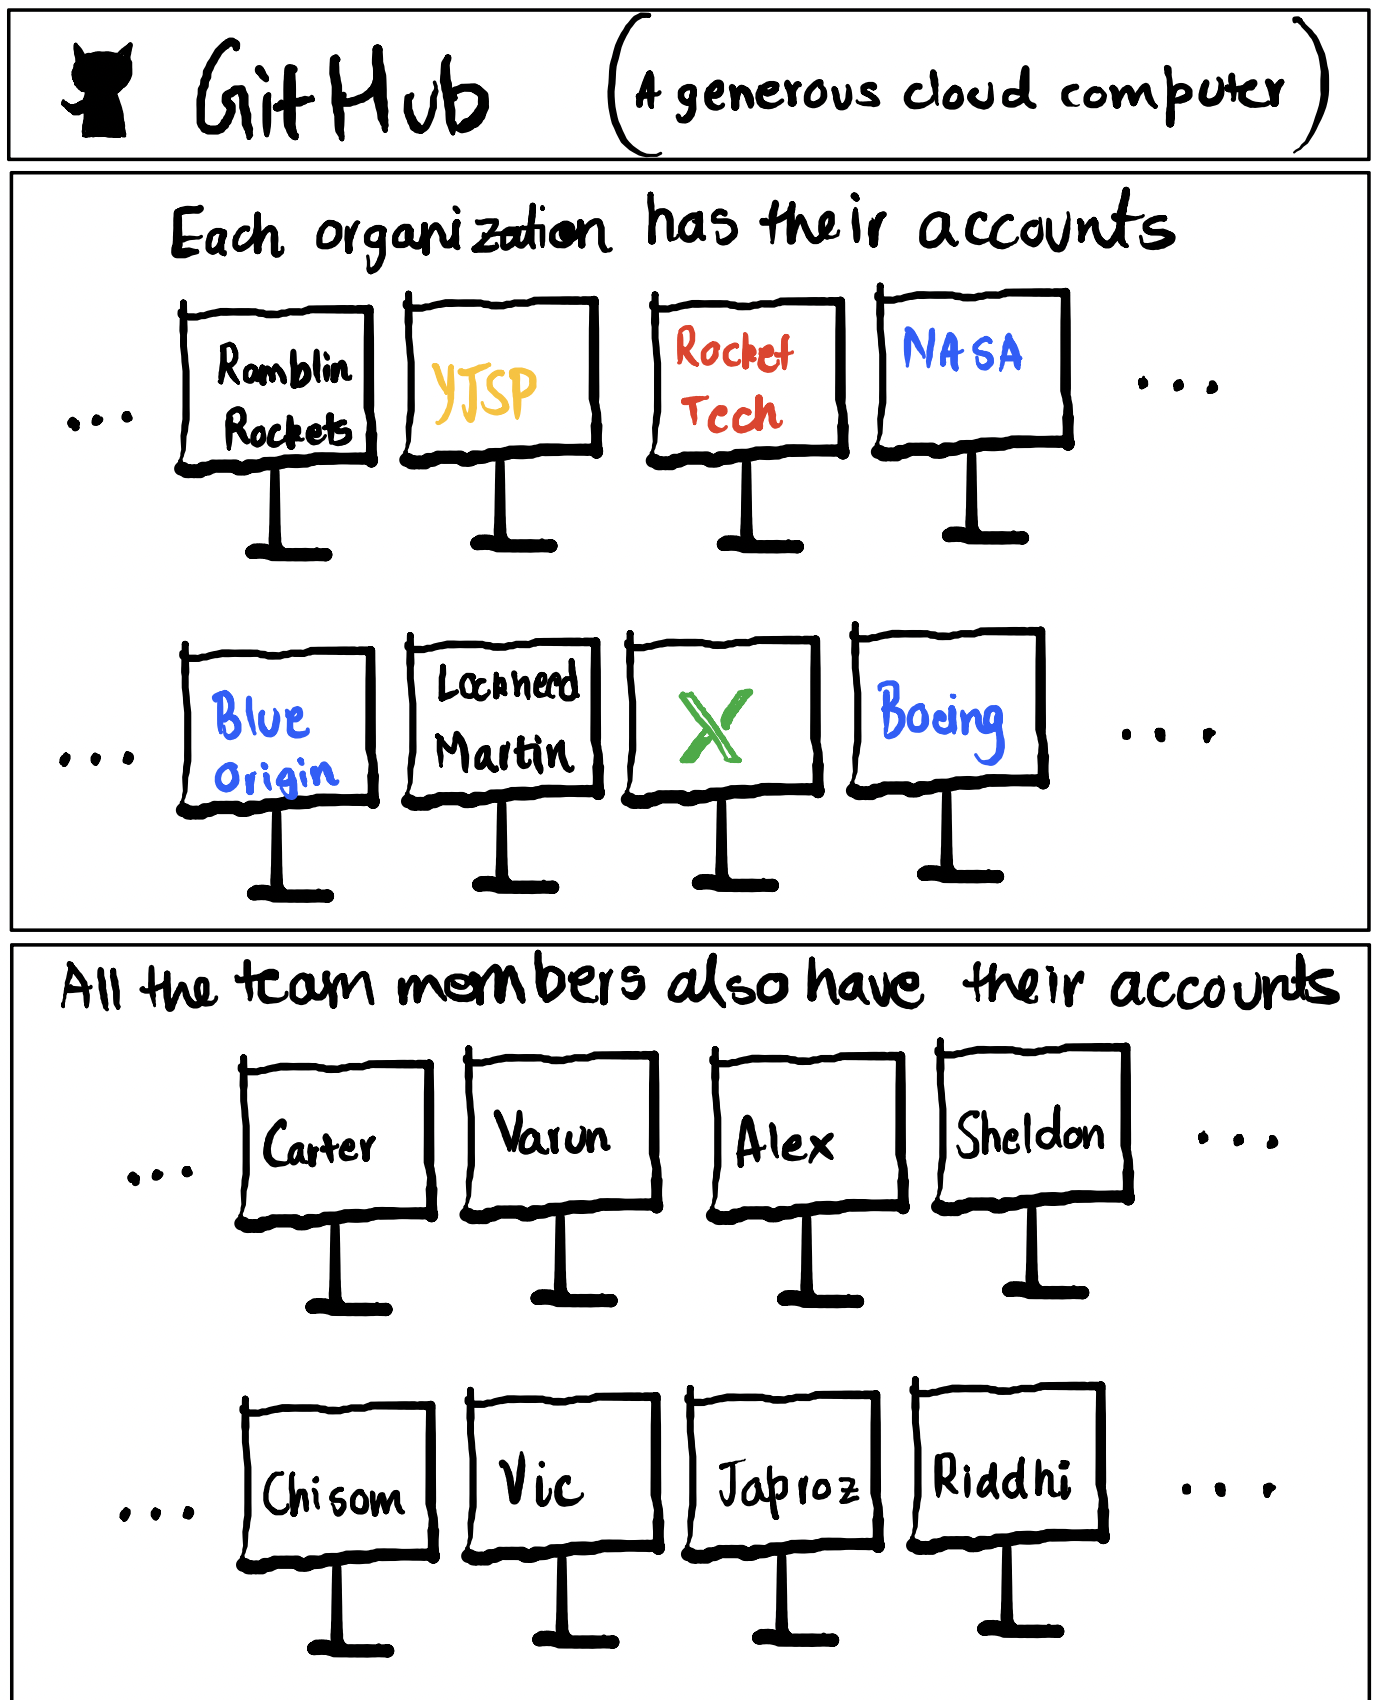
- GitHub: A cloud platform where all your Git changes. Organizations store their lines of code on GitHub.
- It enables individuals to interact/exchange stuff with the main codebase.
- Create an account on GitHub. Now you can create a **copy of any organization’s code on your own account**; this process is called “forking.”
To begin, you first need to have certain things in your computer:
- Git(official website):
- Integrated Development Environment (IDE):
- Download and install Visual Studio Code on your system (Google for a download link; VS Code is used to edit code and other files).
Think of everything as features:
- A project is nothing but a bunch of features.
- Different people program different features.
- You’ll most likely make a feature in the software that doesn’t exist yet.
Recap
- So, what did we learn here?
- There’s a main codebase for the organization, on GitHub, which every team member (if allowed) can access and suggest changes.
- There’s a fork (in each individual’s GitHub account) of that codebase:
- How do these look? See below.
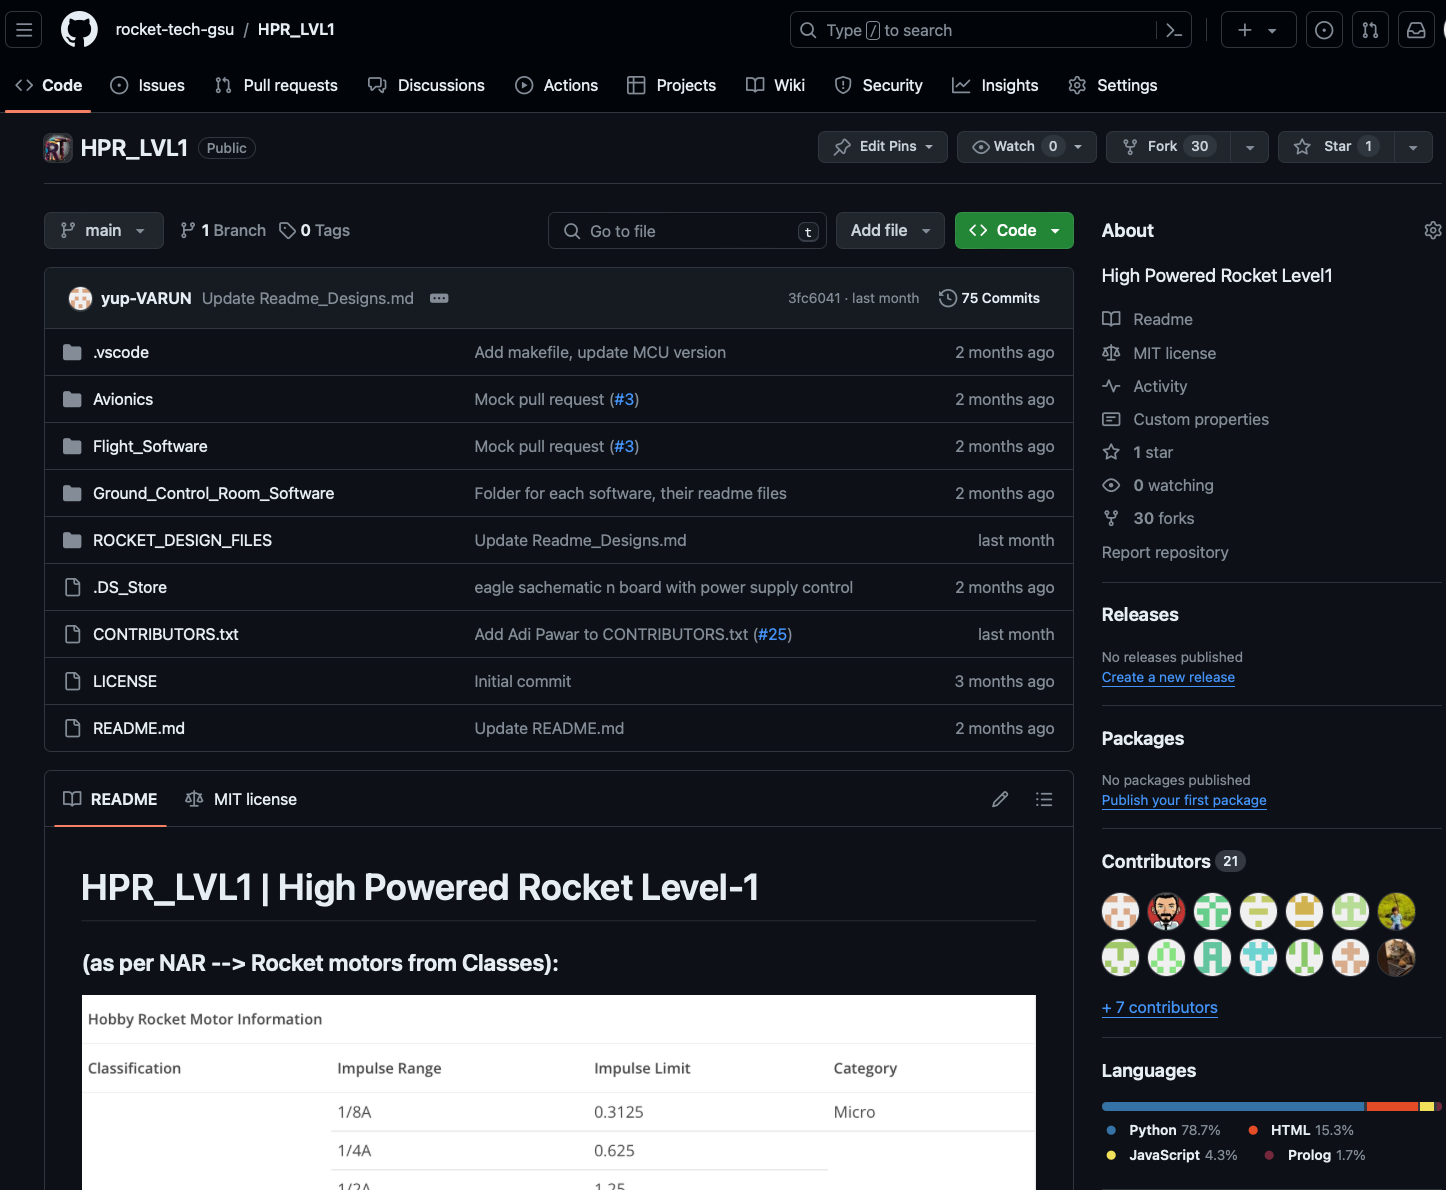
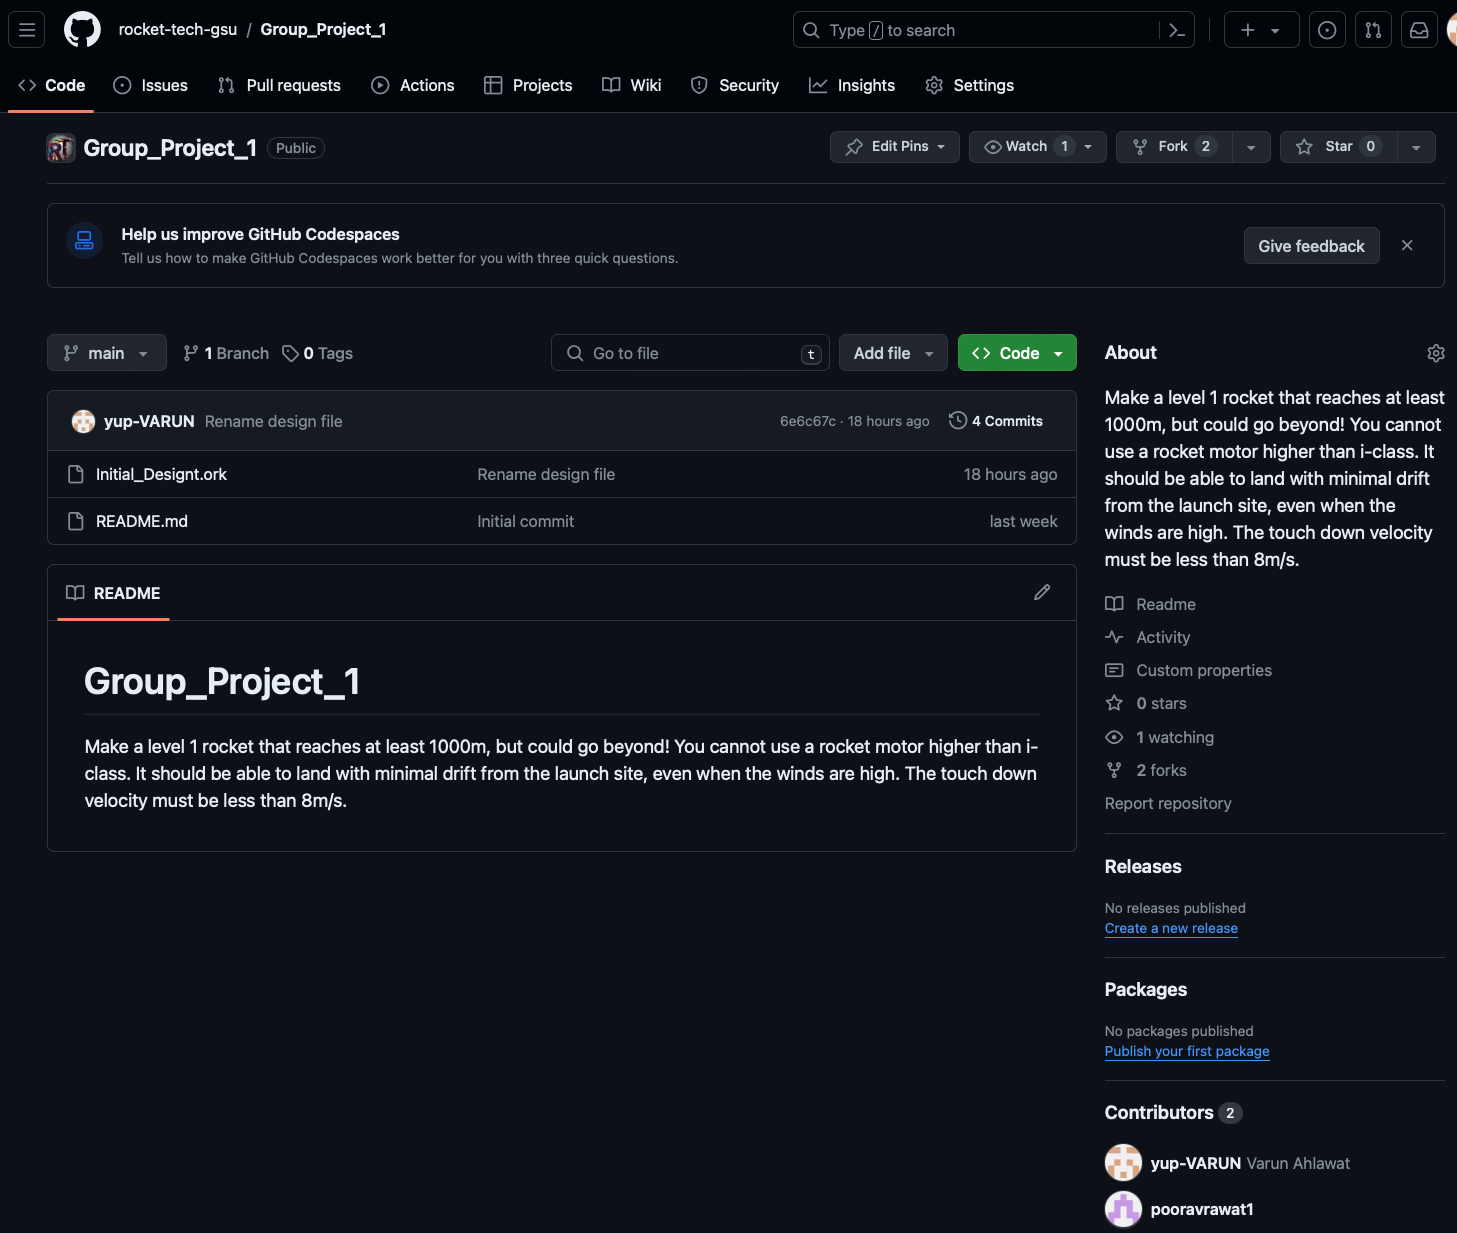
Some of the things in Rocket Tech’s Account will be:

| rocket-tech-GSU/HPR_LVL1: | rocke-tech-gsu/GroupProject_1: |
|---|---|
 |
 |